After months of hard work, I am pleased to announce KeyVault which is a fast, secure and modern 2FA app designed for Apple devices. After trying various 2FA apps, I wanted to build my own for the following reasons:
Support for all my Apple devices (i.e. iPhone, iPad, Watch, Mac)
Lightweight
Aesthetic
Customisable with categories
I have thrown some extra features into the app to appeal to a greater audience such as independent PIN/biometric locks, import/export backups and themes. Combining simplicity, security, and seamless functionality, I want KeyVault to be the ultimate companion for safeguarding both personal accounts and professional data.
Screenshots
Features
🔐 Store All Your 2FA Codes Keep all your 2FA codes in one secure location. No more switching between apps or relying on unsecure notes.
🔎 Manually Add 2FA Codes Take full control by adding your codes manually. Organize your data just the way you like it.
🔦 Scan 2FA Codes with Camera Easily scan QR codes to add your 2FA codes in seconds. It’s quick, intuitive, and hassle-free.
🗃️ Sort and Organize Codes Stay on top of your security by sorting codes alphabetically or by frequency of use. Access your codes faster and more efficiently.
☁️ iCloud Sync Enjoy the convenience of iCloud sync to access your 2FA codes across all your Apple devices. Your codes are always at your fingertips, no matter where you are.
📥 Import & Export Codes Seamlessly transfer your codes when switching devices. KeyVault OTP makes importing and exporting effortless.
📲 Apple Watch Sync Take convenience to the next level with Apple Watch integration. Access your 2FA codes right from your wrist.
Pro Features
📁 Categorize Your Codes Group your codes by category (e.g., Work, Personal, Banking) for an organized and streamlined experience.
📂 Create Custom Categories Tailor your organization by creating unlimited custom categories to suit your unique needs.
🎨 Custom Themes Personalize KeyVault OTP with 10 stunning themes. Add a touch of style while managing your security.
🔒 FaceID/TouchID and PIN Protection Boost your security with biometric authentication or a PIN. Your data stays protected, always.
If you are someone who uses Safari and uses a mouse that isn’t the Magic Mouse, you may have noticed that Safari doesn’t actually “smooth scroll”. What I mean by this is that Safari doesn’t render scrolling like Chrome, Firefox or Edge but instead, only works well with the Magic Trackpad and the Magic Mouse.
This unfortunately is a bummer as Safari works incredibly well when used across other Apple devices (i.e. iPhone, iPad).
To resolve this first-world problem, I came across a free program called “Mos” which allows you to implement smooth scrolling across all macOS applications.
The result is truly remarkable as it means whenever I scroll in Safari, Xcode and any other application for that matter, the experience is amazing.
I’ve made my scrolling behaviour feel almost like Microsoft’s Edge browser (subjective but I think it feels AMAZING).
My Settings
Here is a quick look at my settings
Just the standard settings, I also use LinearMouse which allows me to have universal back/forwards and this works incredibly well too.By default, the settings are different but to have it suit my style of scrolling, I am using the values shown. This gives it a very MS Edge-like scrolling experience (which I like).
Installation
This is a fully free and open source application and to install it, you can simply run the command below (assuming you have “brew” installed):
brew install mos
I highly suggest also checking the project page for more information on all of the other features it offers.
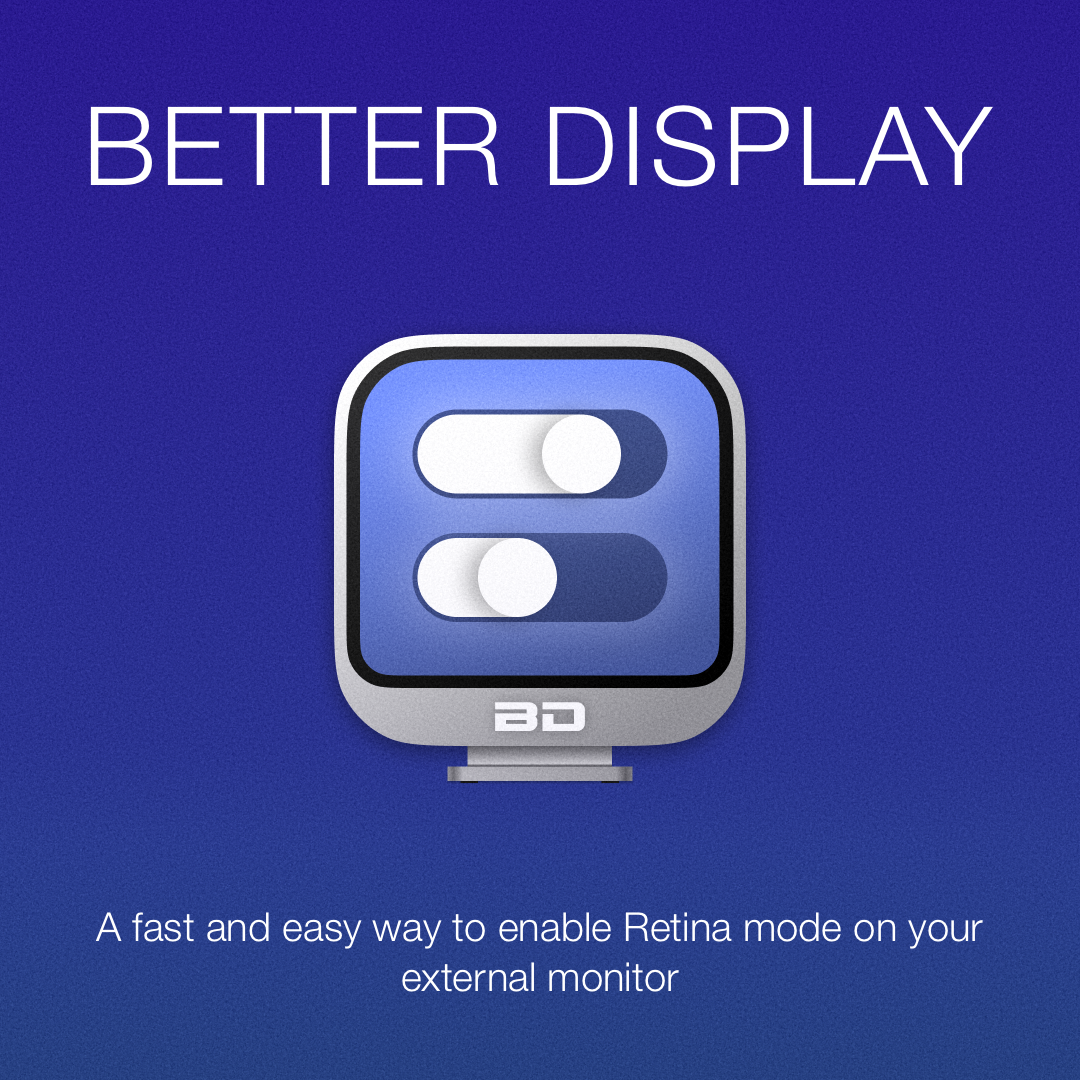
Having switched to macOS for my day-to-day computing as Xcode is a requirement for me, I naturally use an external display along with my MacBook Air as I need the larger display from a productivity and ergonomic perspective.
I currently use a Dell 27″ “S2721DS” 1440p display which has been serving me well for the past few years. It’s no Studio Display but it definitely gets the job done and the colours are fairly accurate and has good viewing angles thanks to an IPS panel.
When I was using Linux, the display was as you’d expect, pretty normal and font is rendered just fine however, after using a Mac, I realised that macOS is very picky when it comes to what resolution is being output as anything that isn’t a “Retina” display is typically a hit or miss.
The Dilemma
According to various sources online, if you want the ultimate external monitor experience, you need to go for something that is 5K due to how macOS handles scaling. So if you can afford it, I’d go with a Studio Display as it also comes with really good speakers from what I hear (pun intended 😉
If you go with any other monitor like myself, most folks recommend 1440p as it scales really well at native resolutions without any modifications.
However, I quickly found out that if I want sharper and smoother text and also fix the dredged pixelation when gaming at a lower resolution (yes, I play ETS2 on my Mac :D), then you need to use a tool called “BetterDisplay”
What is BetterDisplay
BetterDisplay is a tool that lets you convert your displays into fully scalable screens, create custom resolutions, control your brightness/HDMI audio (e.g. CEC) and much, much more.
It’s an extremely extensive program which is frankly, overpowered but I use it for two things:
Scale my 1440p display down to view text more comfortably + gain “Retina” feeling text
Control external monitor brightness via my keyboard
As you can see, I am running my 1440p display at a scaled “down” resolution of 2048×1152. This does make the elements appear larger and probably takes a toll on the GPU however, as I am mainly productivity first with my computers, this makes everything very much more pleasant to look at.
You can actually adjust a lot and even enable HiDPI (Retina display experience), on just the standard 1440p but I found that this resolution is the sweet spot for me.
Plenty of adjustment available
I also find myself working at night and having the ability to control the displays brightness via my keyboard is very convenient.
Showcasing the ability to control brightness using the keyboard. Typically done using F1 and F2 on macOS layout.
If you’re after a way to spice up the way elements are rendered on your external monitor, I recommend giving BetterDisplay a go!
I have recently moved to a MacBook Air M1 for mobile app development as it allows me to develop for both iOS and Android and is a solid upgrade to my ThinkPad E480.
I come from a Linux background so naturally, I like to make things work for me and because of this, macOS at first felt very un-natural to me however, there are a few apps I have discovered that make the experience much more enjoyable and to the point where it surpasses my Linux experience in many ways.
In this article, I will be sharing some of the apps (mostly open-source) that I found which helps make macOS more for power-users. Some of this is not necessary for a lot of people out there however, for me personally, they make a world of difference.
Clipboard Manager – “Maccy”
Having a working clipboard manager is a must for me. It needs to be one that allows me to paste without formatting, is efficient on resources and ideally open-source as it would hold sensitive data (e.g. passwords) albeit temporary.
Screenshot from Maccy (https://maccy.app)
I have found one called Maccy and it works really well! Give it a go.
These two apps are a must-have for me. I have tried to use the Apple Magic Mouse and I do keep it around for on-the-go use however, the sensor and shape is less than ideal for me. I have tried some Logitech Mice too which work well on other operating systems however, the Bluetooth connection tends to lag on macOS (i.e. the polling rate is less than 90Hz which makes it feel sluggish).
I am currently using a SteelSeries Rival 3 Wireless which can be used in both dongle and Bluetooth mode and it works really well. I run it on the lowest polling rate to save on battery with LEDs off, I get a max polling rate of 145Hz which is perfect for daily use in macOS (I am not a big gamer).
However, there is one caveat of using a non-Apple mouse and that is the side-buttons won’t work and mouse acceleration. These two issue are resolved with the use of LinearMouse which allows you to adjust acceleration, sensitivity but also enable universal forward/back buttons which is a must for me.
Plethora of options are available for Rectangle
I also discovered Mos recently which allows me to implement smooth scrolling in all apps and it works really well. It was sad knowing Safari would only have smooth scrolling if you use a magic mouse but I want to use something else and Mos allows me to make Safari absolutely perfect. 👌
My current Mos Mouse configuration – it gives it a nice MS Edge-like scroll feel.
Rectangle is an app that allows you to snap your windows to corners on your desktop — something that macOS should be able to do by default (even the iPad can do this). It’s a free and open source app and it’s the first thing I install.
A basic app but can be customised quite a lot.
Hummingbird is a new discovery for me which allows me to move windows around without having to click on the top bar (i.e. I can put my mouse on the window, press “CTRL+OPT” and simply move it around, no clicking required. And if I press “CTRL+OPT+CMD” together, I can resize the windows.
The reason why I love this app is because I am very used to resizing and moving my windows around with “SUPER+Left Mouse” in Linux but macOS doesn’t have this feature out of the box. Hummingbird is a game changer for me and makes window management even easier.
A simple yet super effective app. Hasn’t been updated in a while but still works like a charm.
I also wanted to try out Yabai but having used tiling window managers in the past, it breaks my workflow so I prefer the floating.
This is a simple app that works like “caffeine” on Linux (e.g. a GNOME extension) but allows for more granular control (e.g. set up timers for how long you should have caffeine) — simple but effective.
I normally use “CMD+TAB” but the default behaviour is to not bring the application to the foreground which is annoying and I have to do “CMD+TAB,OPT”.
This is fine however, there is a nice addition that also allows me to switch to multiple windows of the same app with ease (akin to using “CMD+TILDE”) — and this is AltTab!
It also comes with a load of additional features so it is a nice addition to my Mac workflow.
This is a paid app but I believe it’s a must-have, especially if you decide to install everything mentioned here! 😀
I usually use the basics but it can be customised quite a bit.
Bartender allows you to clean-up your status bar and keep it looking minimal, similar to how Windows has a “tray”, macOS doesn’t have one by default so in order to have a clutter free top-bar, Bartender comes to the rescue.
So these are some of the apps I use on my Mac and it’s made the transition from Linux much easier and dare I say, more enjoyable. There are things I miss daily that I could do on Linux but Mac being a UNIX system underneath means that everything feels mostly the same aside from the desktop environment. So there really isn’t much to brag about macOS but when you have nice Apple Silicon powered hardware and have a few Apple devices (e.g. iPhone, iPad), it works wonderfully.
I will also share some of my favourite extensions for Safari too in an upcoming article, thanks for reading, hopefully it has inspired you to spice up your own macOS installation.
I use terminal emulators daily on my main machine and my go-to has always been GNOME Terminal however, that is until I found a new program called “Black Box”!
This is a short article to shed some light on the new contender as I believe it’s worth checking out if you’re on a GTK/GNOME-based desktop environment.
I am a long-time GNOME user as I’ve had a soft-spot to how things work and have been loving the keyboard-centric workflow. I also really enjoy KDE Plasma and other desktop environments however, GNOME has always had a special place in my heart due to how things work. While there are a lot of things that need improving in the GNOME world, the terminal has always been adequate for my needs but seeing how other
Terminal Padding
As GNOME Terminal is a GTK 3 application, I would place the following CSS file into my ~/.config/gtk-3.0/ and it would give me some aesthetic terminal padding.
/* gtk.css
* Add padding to terminal.
* Place this into the "~/.config/gtk-3.0/gtk.css" file
*/
VteTerminal,
TerminalScreen,
vte-terminal {
padding: 10px;
-VteTerminal-inner-border: 10px;
}
While this doesn’t add anything from a functionality stand-point, it does make the terminal a nicer place to be in. However, there are other appearance related things that are a bit lacking (e.g. coloured CSD/titlebar, seamless scrollbar). These are just purely cosmetic but if I was to spend many hours in the terminal, why not have something nice to look at? 🙂
Black Box vs GNOME Terminal
Here is a quick look at the difference between Black Box and GNOME Terminal.
Black Box TerminalGNOME Terminal
On the left, you can see Black Box which can be themed very easily and also colour’s the CSD (i.e. titlebar), similar to what iTerm 2 looks like on Mac. 🙂
As for GNOME Terminal, it still looks very good however, the plethora of options available in Black Box is a bit nicer.
Here is a quick look at some of the settings it offers:
As you can see, there are the standard settings you would expect but also a very nice colour scheme picker where you can also import your own styles too.
It should be available on most distribution repositories but if not, you can always download it from Flathub as a Flatpak.
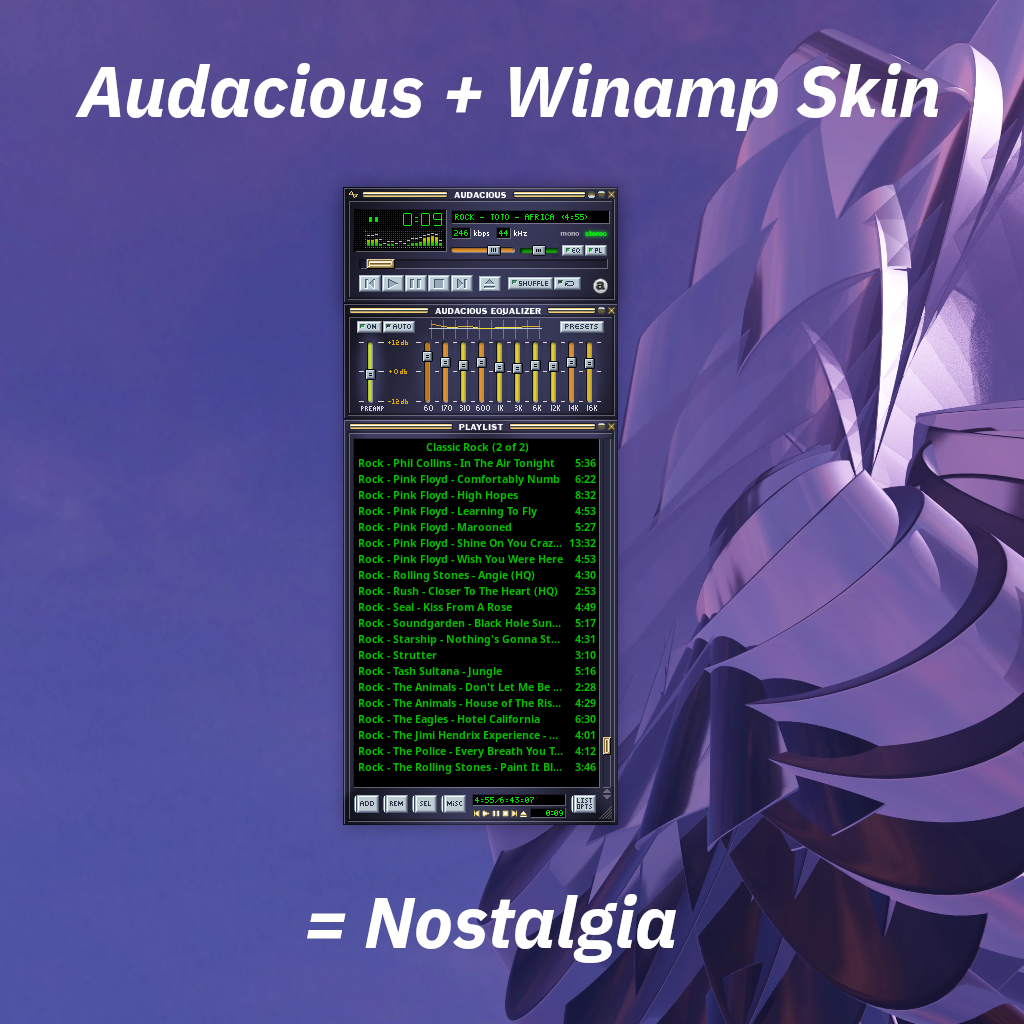
Just wanted to put it out there, if you’re someone who grew up with Winamp but you’re on Linux and want to experience the same good-old feels, then look no further than Audacious!
Out of the box, it looks pretty standard but once you enable the Winamp classic interface and apply the Winamp skin, it’s simply awesome!
The good old days. :’)
How to apply the theme?
Firstly, install Audacious from your desired package manager. I went the default RPM route on my Fedora install so for me, that would be:
$ sudo dnf install audacious
Once installed, open the application so the configuration files are all loaded, and now download the following XMMS skin:
As a Mac user, you may know that mouse behaviour is a little wonky, especially when it comes to mouse acceleration and using the back and forward buttons on your mouse.
If you have a Logitech mouse, you’re pretty much set as you can use the Logi Options+ software to configure your mouse and utlise the buttons on your mouse — a must-have in my opinion!
However, regardless of your mouse, there is one issue and that is mouse acceleration.
Disabling Mouse Acceleration
While mouse acceleration is great in theory, for my work and use case, it makes it a pain to navigate as I then need to re-learn how it behaves everywhere I use my mouse.
I occasionally play some games on my Mac and having mouse acceleration simply ruins the experience. Not only that, acceleration affects the ability to form muscle memory which is a major annoyance when it comes for work and play. Mouse acceleration may be useful on large displays, I simply increase my DPI and turn off mouse acceleration which makes me move more consistently.
The solution is to use an application called “LinearMouse”!
After much research, I found this gem of a program that allows you to not only disable mouse acceleration but also scroll acceleration and enable universal “back + forward” buttons to work across all apps!
This is huge!
This makes your 3rd party mouse (i.e. non-Magic Mouse) feel like a first-class citizen on your Mac. This program is indispensable for me now.
Another cool feature about this program is that each mouse you use on your Mac means that each mouse has it’s own profile. This means that you can fine-tune your settings for each mouse and make it your own (e.g. different settings for your work mouse vs gaming mouse).
Finally disabled pointer acceleration!
The ability to also use the back/forward buttons in any app is also a benefit of using this application.
This feature alone makes it worth using this application.
You can install it from their project page (see button above) or install it using Homebrew on your Mac.
brew install --cask linearmouse
Honestly, I am not sure why macOS doesn’t have the ability to disable mouse acceleration from the settings area or let alone, the ability to have native back/forward buttons for your mouse.
In any case, LinearMouse is a must-have app for my needs!
Just wanted to share something I found interesting when using my Logitech MX Master 3 on my iPad Air 4.
One thing that bugged me when using the mouse on the iPad was that each scroll step was like five scroll-steps. This meant that it was almost impossible to accurately scroll up and down and the scrolling was very jumpy.
Turns out, this is easily resolved by disabling a setting in the “Logi Options+” for the Logitech MX Master 3 and that is “Smooth Scroll”. The Logi Options+ software actually stores this information onto the MX Master (i.e. offline) so the changes you make to the sensitivity, scroll-speed, etc, all saves to the mouse.
It is best to turn off the smooth-scrolling feature as it also works better on the Mac but more importantly, the scrolling feels normal on the iPad.
This is what Logi Options+ looks like. By disabling the “Smooth Scrolling” feature, this makes the mouse’s scroll wheel behave normally on iPadOS.
Of course, to disable this feature, you need to make the changes on a Mac or Windows PC running Logitech Options or the new “Logi Options+” software.
Apple has released iPadOS 16 public beta not too long ago and I was interested to see what the fuss is all about with the new version. The main feature that was released was Stage Manager and external monitor support. The latter is something I really wanted from my iPad Air 4 however, it appears that Apple isn’t going to be bringing to the non-M1 iPads anytime soon.
The elephant in the room
If you have been following iPadOS/iOS news lately, you will know that there has been great debate and controversy on why Apple hasn’t brought stage manager/external monitor support to the non-M1 iPads. It is a shame that they don’t plan on bringing it as I know for a fact that these A-series chips are powerhouses. My iPad Air 4 is basically my laptop at this point as it offers awesome battery life, fluid performance and plenty of multitasking functionality (i.e. split-screen) and third-party hardware support (i.e. trackpad, keyboard, mouse, audio interface, etc.)
The only thing I wish they had also brought over is proper external monitor support which would be greatly appreciated, even if it means just means two split apps + one slide-over app. The implementation is already there as we can see certain apps take advantage of external monitor, even on iPadOS 15.
I have tried stage manager on the macOS 13 beta however, I believe proper external-monitor support for non-M1 iPads is something Apple can give us as there is still time before we see the final release. Even if it doesn’t make it through, it doesn’t mean the iPad is worthless, that couldn’t be farther from the truth!
What I like
Honestly, nothing really has changed. However, I did notice that external mouse feels better and it now supports my Steelseries Rival 3 Wireless mouse which is excellent. We also get a full-featured weather app which is nice to see! The default Apple apps (e.g. notes, office-suite, etc.), all got nice upgrades and feel more like desktop applications. There are probably more new features but those are the ones I’ve come across.
What I want
Come on Apple, all we really want is proper external monitor support. Floating windows is nice but once you are used to a split-screen layout, stage manager and floating implementations aren’t necessary. The thing I love about my iPad is that I can plug in one cable and that will charge, mirror to external monitor, power my audio-interface and other peripherals.
As iPadOS matured, my workflow has transitioned from the Mac to the iPad and I actually quite enjoy it! Even if it means that I will see black sidebars on a 16:9 external monitor. The beauty of the iPad is that it is clutter free and when you do work, you have either one or two apps open at once. If you need a third app, you can also do that with the slide-over/iPhone-style layout.
I’m a final year engineering student and also a hobbyist programmer. Swift Playgrounds, Blink Shell, Working Copy, all feel spectacular on the iPad and I just wish us A-series iPad owners could get the functionality that the M1 folks get.
But in saying this, I am truly happy with what my iPad Air 4 can do. It is so fast and fluid and it only has 4 GB of RAM!
Conclusion
With iPadOS 16, you shouldn’t expect if you are on a non-M1 iPad. Don’t get me wrong, it’s a nice update but it’s held back with the number of devices that get the actual new features. I have hope that one-day we’ll see some form of external monitor support for us non-M1 iPad owners.
In this short article, I will be sharing some useful commands I have come to use over the years with cPanel/WHM servers. These commands are especially useful if you are planning to monitor email queues and ensure that no one is compromised and/or isn’t spamming.
Viewing the number of emails
To view the number of emails in the queue, run this command:
exim -bpc
To view all the emails (this is useful for the next few sections), run these commands:
exim -bp
exim -bp | exiqsumm
Checking emails (e.g. login failures, for spamming content, etc.)
The best way to find out if an account is secure and to also identify if the password has been changed is to refer to these commands:
This will filter through the “/var/log/maillog” to see if there are any failures. This is also useful for checking to see if the customer is using the correct credentials.
Removing emails from the queues
If you have identified the source of the spamming account/domain, you can then use the following commands to clear out the emails.
The -f flag indicates the “from” address and the -r flag indicates the “recipient” address.
Pushing/releasing frozen/queued up emails
First clear out the spam (i.e. identify the spam, if any, and suspend/inform + remove emails from the queue).
Once done, the best way to get this going is to SSH into the server and create a screen so you can run the EXIM email release command in the background. Here is what it will look like:
ssh my.server.tld -4
screen -S exim
exim -qf -v
Then you can exit the screen (CTRL+A,D) and let it do its magic.
These commands have helped me in my cPanel/WHM system administration tasks and I hope it helps you too. 🙂